

Six clear operating steps

How to Use RotiMitra

Follow these simple steps to press prepared dough safely and evenly. Results may vary depending on dough consistency, dough-ball size, oil quantity and pressing technique.

Important safety noteKeep hands and fingers away from the pressing area while lowering the upper frame.
Front three-quarter view of the RotiMitra assisted dough-pressing appliance on a neutral studio background.
Step-by-step guide

Prepare, position and press with care

Follow each step in order. The product presses prepared dough; cooking is completed separately.

01

Prepare the Machine

  • Place the machine on a clean, flat and stable surface.
  • Open the upper pressing frame completely.
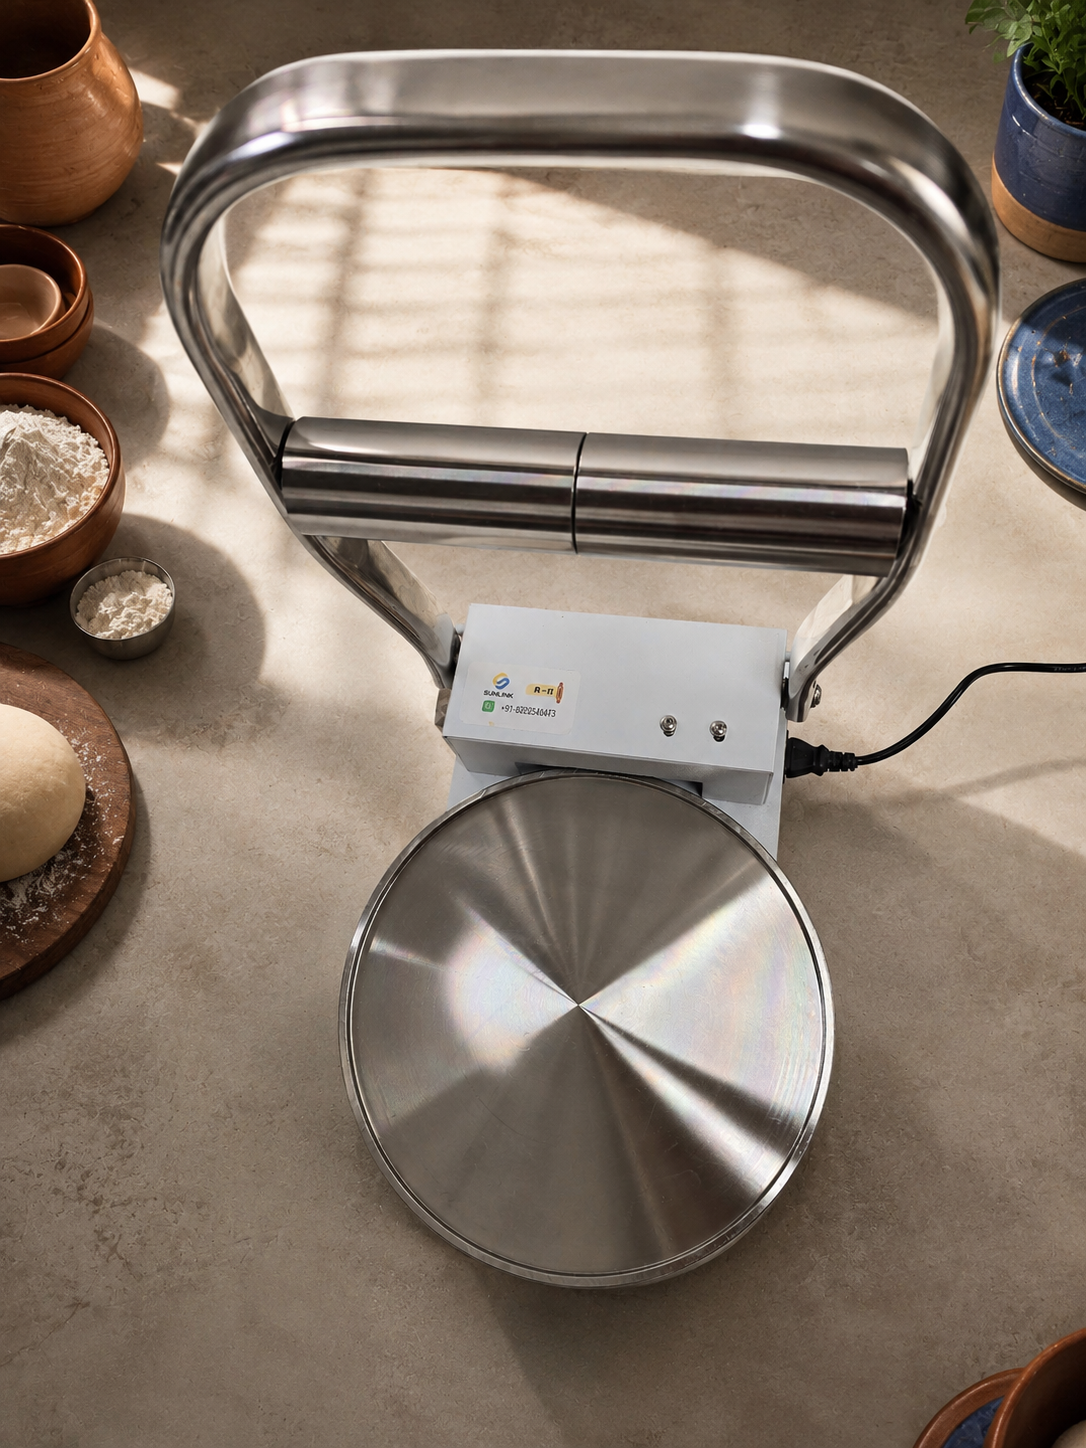
Front view of the RotiMitra assisted dough-pressing appliance showing its handle, plate, switch and power cable.
Machine open and positioned on a stable surface.
02

Prepare the Base

  • Lightly spray oil on the lower steel plate and spread it evenly.
  • Place the first plastic sheet on the plate and smooth out any wrinkles.
  • Apply a light coat of oil on top of the plastic sheet.
Correct order1. Lower steel plate2. Thin layer of oil3. First plastic sheet4. Light oil coating on top
Side view of the RotiMitra assisted dough-pressing appliance showing the circular lower plate and power cable.
Prepare the circular lower plate in the order shown.
03

Place the Dough

  • Make a smooth, round dough ball.
  • Place it exactly at the centre of the plastic sheet.
Centre placement helps the dough spread evenly.
Prepared dough ball positioned at the centre of the plastic sheet on RotiMitra.
This image demonstrates the correct central placement of the prepared dough ball before covering and pressing.
04

Cover the Dough

  • Lightly oil one side of the second plastic sheet.
  • Place the oiled side facing the dough.
  • Smooth the sheet gently without moving the dough.
Oiled side must face the dough.
RotiMitra pressing plate and handle ready to lower over prepared dough
Cover gently and keep the dough centred.
05

Press the Roti

  • Ensure your hands are away from the pressing area.
  • Slowly lower the upper pressing frame until the dough spreads evenly.
  • Once the desired size is achieved, lift the frame gently.
Press gentlyDo not force the handle or place hands inside the pressing area.
Side view of the RotiMitra upper frame in the pressing position
Lower and lift the upper frame slowly and gently.
06

Remove the Roti

  • Lift the pressed roti along with the plastic sheet.
  • Carefully peel off the plastic sheets.
  • Transfer the raw roti to the tawa for cooking.
RotiMitra presses the prepared dough. Cooking continues separately on a tawa or by the user’s normal cooking method.
RotiMitra assisted dough-pressing appliance displayed beside a plate of prepared rotis.
Lift the sheet carefully and transfer the raw roti for cooking.
Good operating habits

Do’s and Don’ts

These clear reminders help keep the pressing process consistent and safe.

Do’s

  • Use soft, well-kneaded dough.
  • Apply only a thin layer of oil.
  • Keep the dough ball exactly at the centre.
  • Keep both plastic sheets clean and wrinkle-free.
  • Lower and lift the press gently.
  • Clean the machine after every use.

Don’ts

  • Do not use excessive oil.
  • Do not place the dough directly on the steel plate.
  • Do not use torn or dirty plastic sheets.
  • Do not place hands near the pressing area while closing the machine.
  • Do not force the handle or apply excessive pressure.
  • Do not place plastic sheets on a hot tawa.
  • Do not leave dough inside the machine after use.
Watch before using

RotiMitra demonstration

This demonstration introduces the product’s pressing movement. Dough preparation and results can vary with consistency, portion size, oil quantity and technique.

No autoplay: press play when you are ready.

Need personal guidance?

Book an online or live demonstration

Follow the official demonstration and instructions supplied by RotiMitra. Contact the team whenever you are unsure.